







At a glance
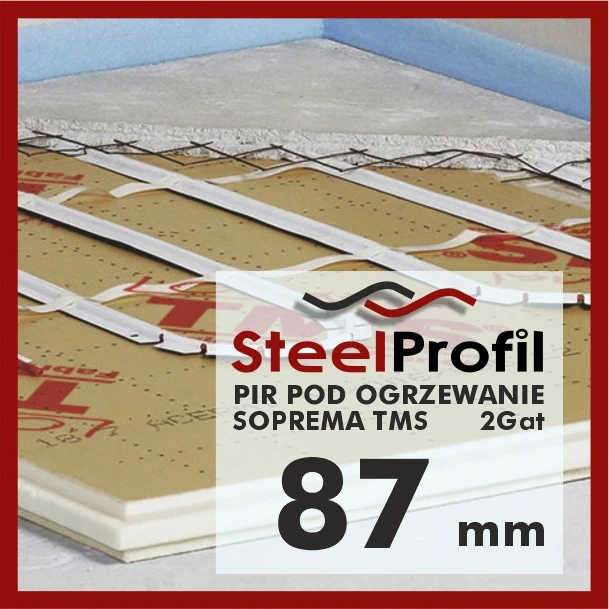
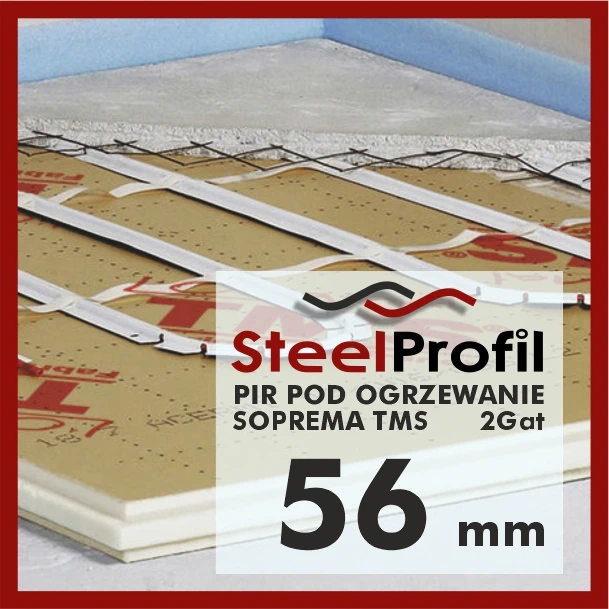
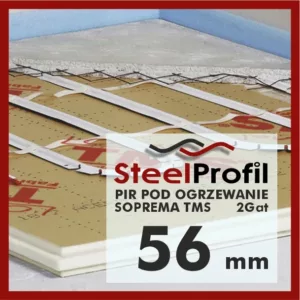
PIR insulation boards can form part of a suitable floor build-up beneath underfloor heating. Their purpose is to limit unwanted heat flow through the floor, while the heating system and floor construction deliver heat to the room. The insulation does not produce heat or replace moisture protection. This guide explains the importance of the declared product, thickness, loading, joints and installation sequence. It also places the original January 2023 example of a 56 mm TMS board in context: one named thickness is not a universal solution for every ground floor, intermediate floor or heating design.
What the insulation contributes
A suitable low-conductivity board can provide useful thermal resistance within a limited floor depth. Select the actual floor-insulation product using its declared values and intended application.
The original article described a 56 mm TMS board as PIR. Verify the precise product declaration, foam type, facing and floor suitability rather than transferring properties from another board or treating the historical description as a complete specification.
Insulation limits downward heat flow; it is not the component that distributes heat evenly across the room. Pipe or cable layout, screed, controls, heat output and floor finish also affect underfloor-heating performance.
Moisture and comfort
Water absorption characteristics do not replace the floor’s damp-proofing or waterproofing requirements. A floor on the ground and an intermediate floor may need different details. Insulation alone cannot guarantee that a building avoids moisture problems.
Underfloor heating may be suitable as the principal heating system where the heat-loss and output calculations support it. PIR boards alone do not establish that no supplementary heat source is needed.
GET A QUOTE FOR INSULATION BOARDS!
Installation sequence and protection
Prepare the substrate and install the moisture-control layers required by the design. Lay the specified boards with the required joint arrangement and fit around edges and penetrations accurately. Use compatible joint treatments where required.
Protect the insulation during installation of services, heating and screed. Resolve damaged boards or penetrations before they are covered, using the system requirements rather than an improvised repair.
Check compressive and long-term loading behaviour for the actual board and floor. A stated short-term strength is not automatically the allowable long-term floor load. Large floor areas also require appropriate screed and movement-joint design.
Choosing the thickness
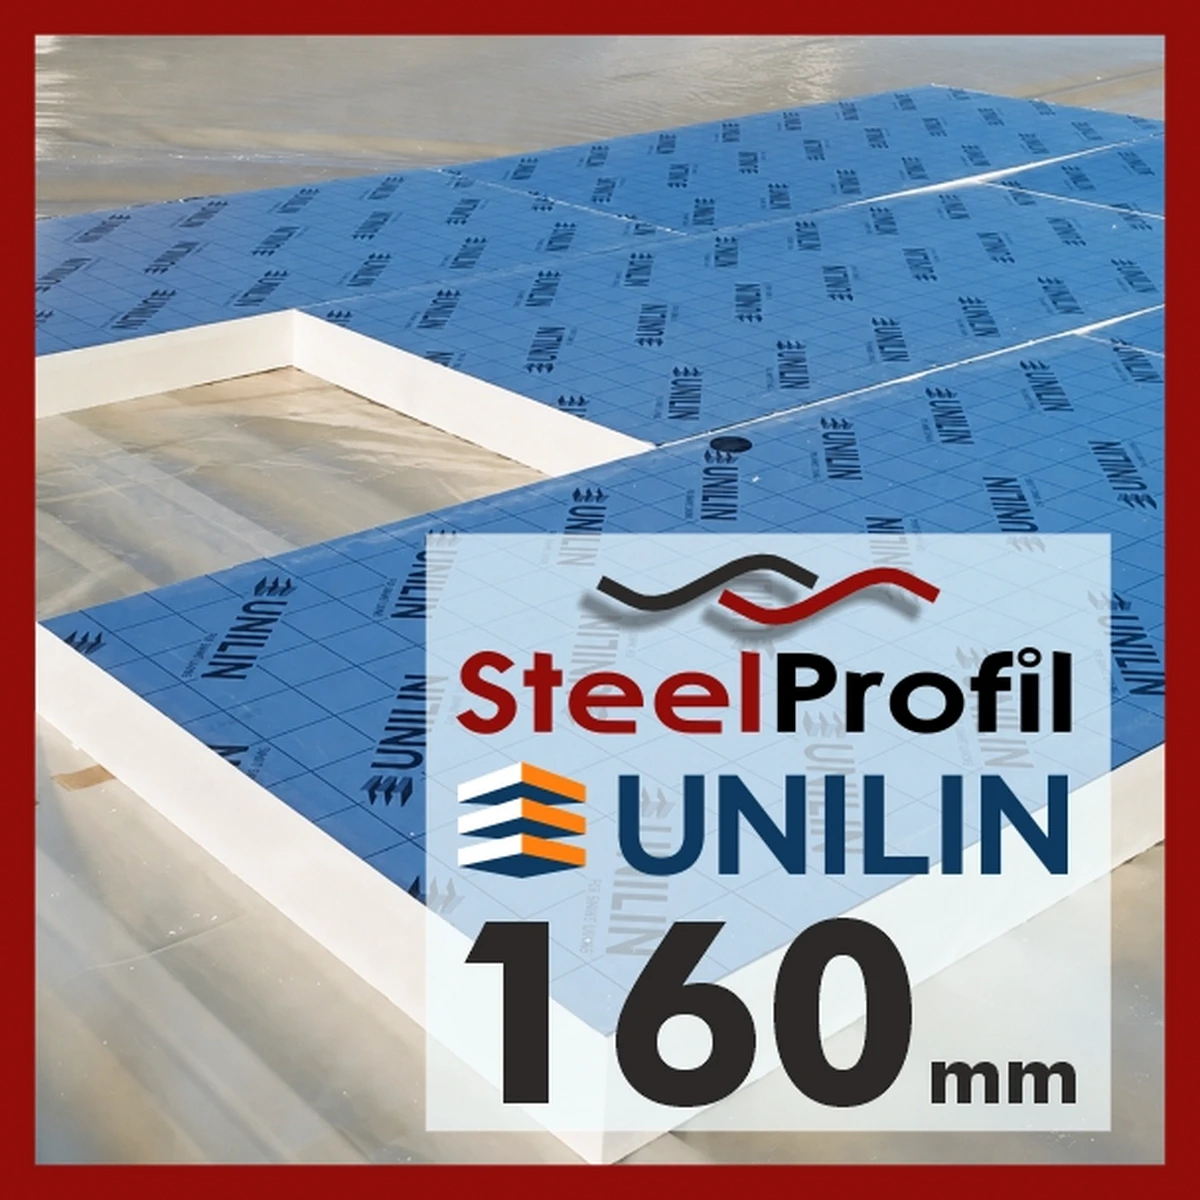
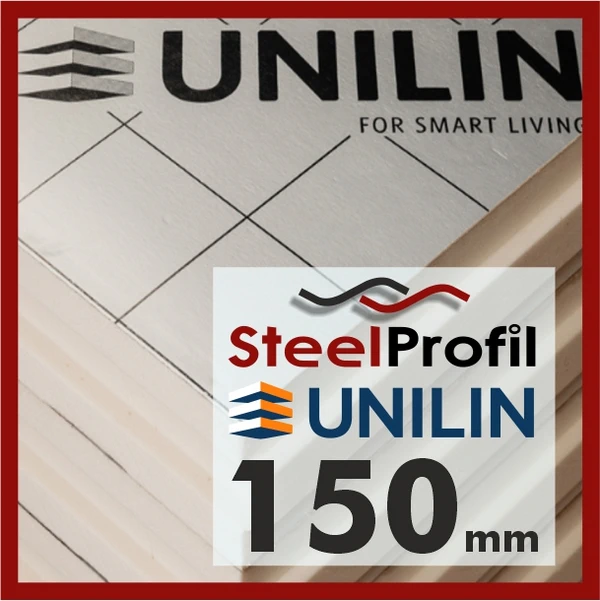
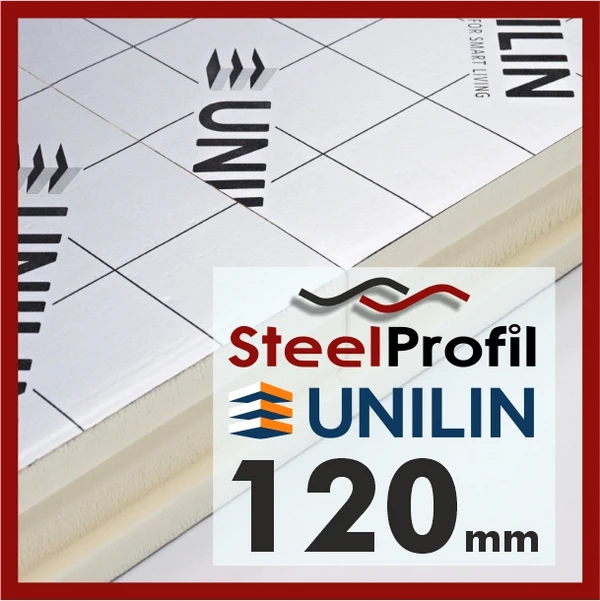
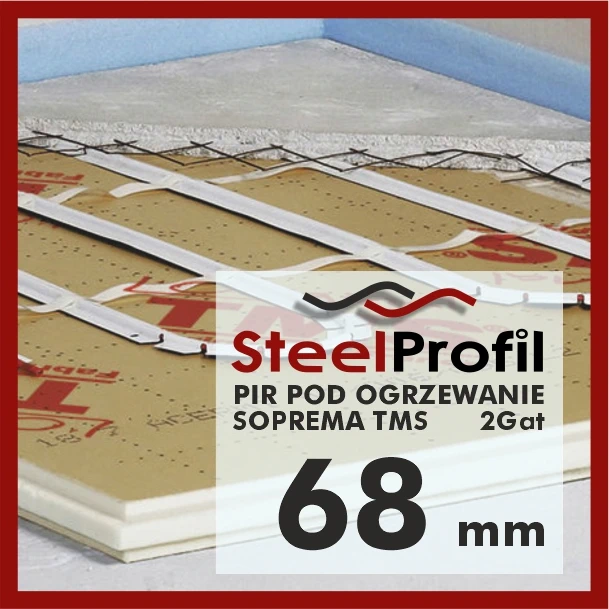
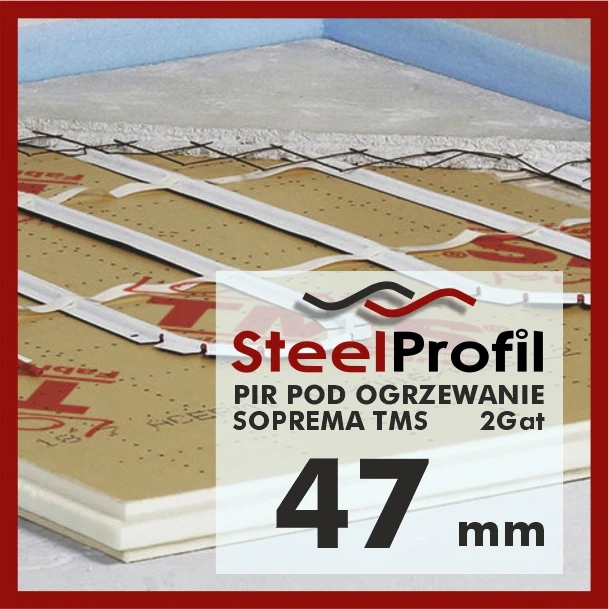
The required thickness follows from the declared conductivity, target thermal performance, available floor depth and complete construction. A 56 mm example cannot establish the correct insulation for every project.
Consider the ground-floor or intermediate-floor conditions, junctions and any applicable design requirements. If another thickness is needed, compare documented products and the resulting build-up.
Maintenance after completion
Maintain and inspect the accessible heating system as appropriate. Insulation buried beneath a finished screed is not normally available for routine visual inspection without opening the floor. The important insulation checks occur before it is covered; later signs of damage or moisture require a suitable investigation.

Specify the floor as a complete system
PIR may be a useful floor-insulation option, particularly where a compact layer is valuable. It is not universally the best material for every load, moisture condition or budget.
Confirm the exact board, thickness, loading, moisture layers, heating arrangement and finish. Sound joints and careful protection during installation help the assembly perform as intended.
Ask for options matching the required specification when the historical 56 mm example does not suit the project. Choose using the complete floor design, not a promise that one board guarantees comfort and savings in every home.