







At a glance
PIR boards can provide roof insulation where the selected product and roof build-up are suitable. Their performance depends on thickness, declared properties and installation, including the substrate, fixings and junctions. This guide organises the work into five stages: prepare the roof, select the boards, cut and arrange them, secure them and complete the connections. It also explains why lightweight boards and low water absorption do not replace waterproofing or safe roof access. Read the related guide to reducing heat losses alongside the actual system instructions; this overview is not a design for every roof.
1. Prepare the roof and supporting surface
Check the existing structure, substrate and moisture condition. Repair defects and remove contamination using appropriate methods. Arrange safe access and weather protection before exposing the roof.
2. Select the specified board
Confirm thickness, conductivity, facing, loading and application. Climate matters, but the complete roof performance, space and construction determine the choice.
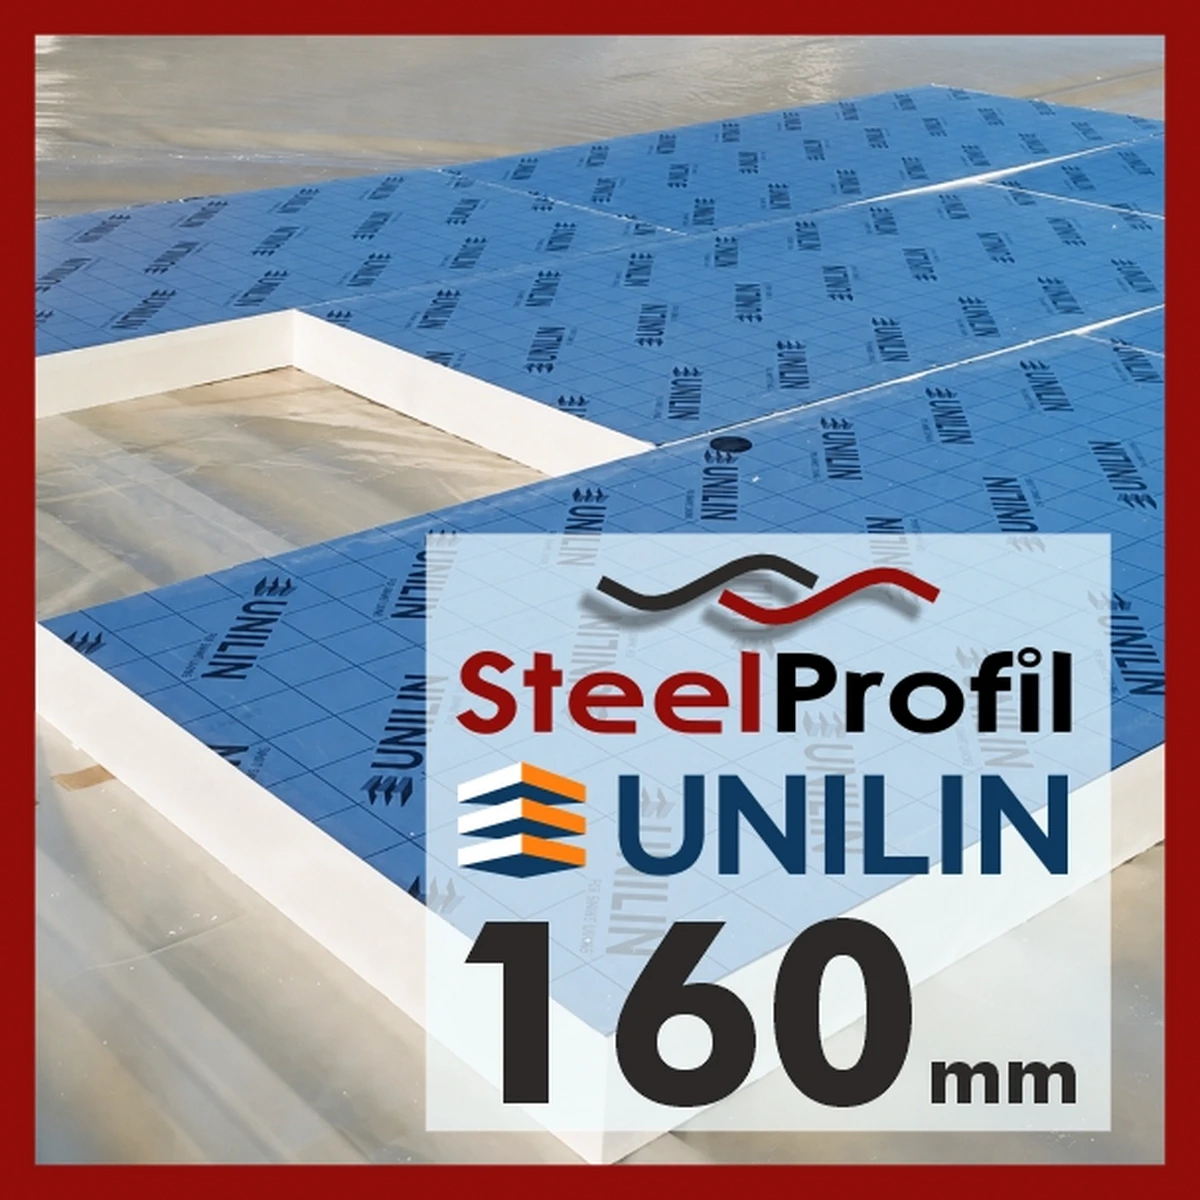
3. Cut and arrange the boards
Use suitable tools and follow the specified joint arrangement. Accurate fitting helps continuity; it does not remove every thermal bridge caused by rafters, fixings or other details.
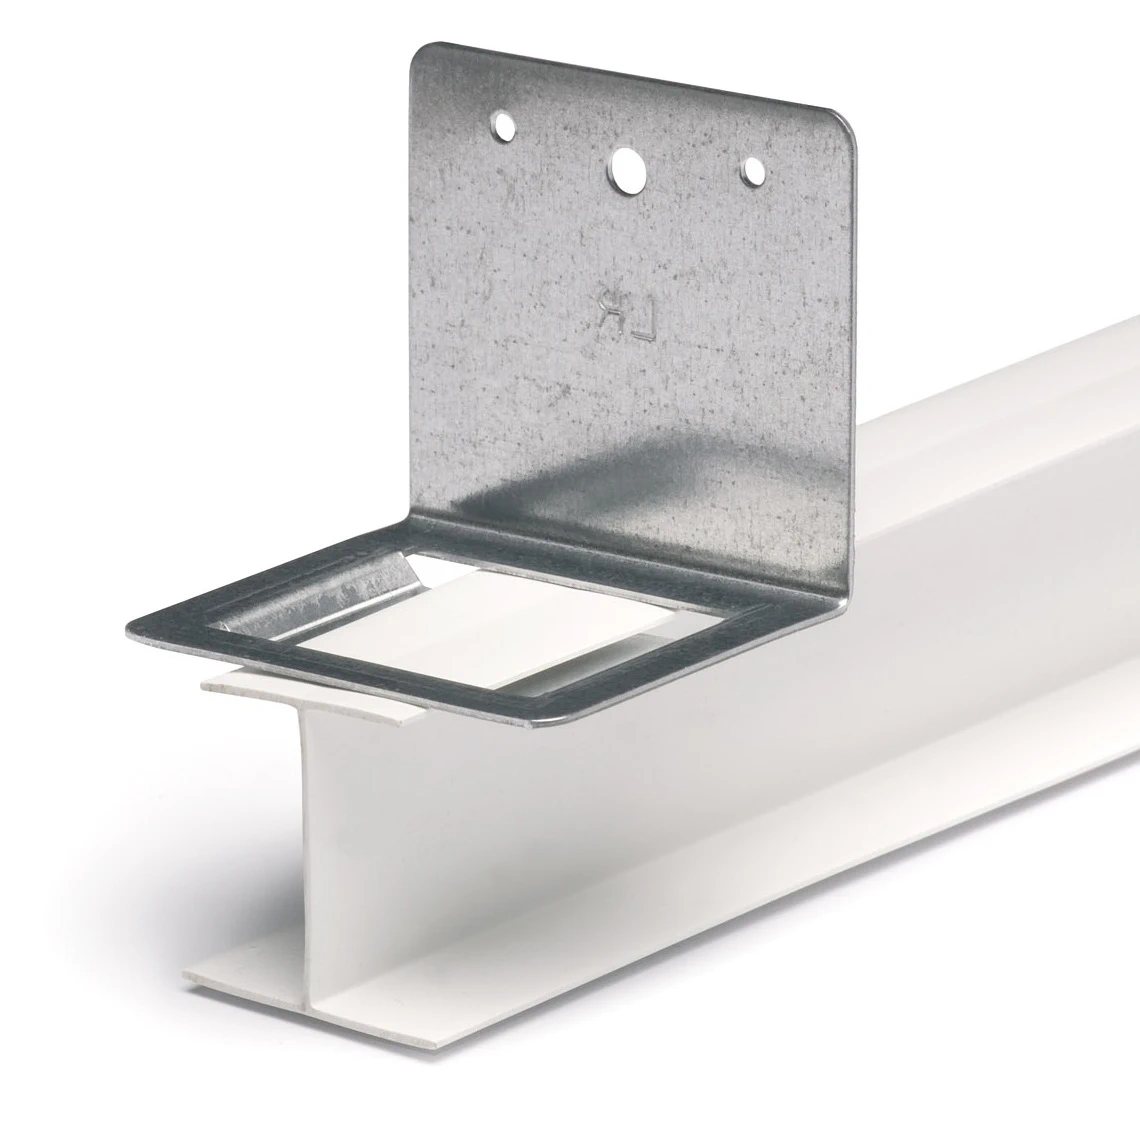
4. Use the correct fixing system
Adhesive, mechanical fixing or their combination must follow the tested or designed system. Do not assume that adding glue and ordinary fasteners always improves a roof.
5. Complete the joints and connections
Connect the appropriate air, vapour and waterproofing layers at edges, penetrations and adjoining construction. Use compatible joint components and retain required ventilation paths. The related heat-loss guide discusses why continuity matters.
GET A QUOTE FOR PANELS!
Benefits and their limits
A suitable PIR board can provide substantial thermal resistance at a relatively modest thickness. Actual energy savings depend on the whole roof and building, not the board name alone.
Low weight can assist handling, but large boards still need secure storage, lifting and control in wind. Installation time depends on access and details.
Moisture resistance is product-specific and does not make exposed boards a finished waterproof roof. Protect them and complete the specified layers.
Dimensional stability and loading limits must be taken from the documentation. No insulation product is guaranteed to remain unaffected by every load, temperature or installation defect.

Inspect the completed work
Before covering the boards, check the fixing, joint arrangement, interfaces and required layer continuity. Confirm that rainwater drainage and ventilation have not been obstructed.
Choose the product from an identified roof system and request help with quantities and accessories. A carefully selected and installed insulation layer can improve comfort and limit heat flow, while the complete roof remains responsible for weather protection and structural performance.